 I really hate being wasteful and I really hate throwing things away. I would not classify myself as being an "environmentalist" but I do see the value in recycling and taking good care of the environment, as well as my personal possessions, in order to make them both last as long as they can.
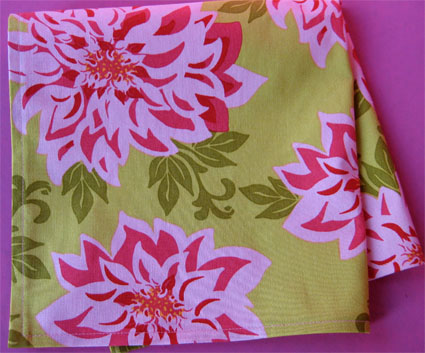
A couple weeks ago, we were at Costco. On the shopping list were napkins. Napkins are one of those things you just can't do without. So after paying almost $10 for paper napkins that are going to end up in the trash, I had the idea to make up some cloth napkins. Now, I know cloth napkins are not a new idea by any stretch...but in my little mind, the idea of using them on a daily basis in my home was.
First I did a little research to determine how much fabric I needed. Most cloth napkins are 16x16". If I made my cloth napkins "regulation size", I'd only be able to get 4 napkins from 1 yard of fabric...with a lot of scrap left over. Paper napkins opened up are about 12x12". If I made my napkins that size I could make 8 from the same amount of fabric and not have any fabric left over. Hmmmmm...
So, off to the fabric store I went. To start:
- I purchased 3 yds. (45" width) of a lovely 100% cotton gingham fabric. Okay, it can be any pattern you want. It can be a fun print, a solemn solid, colors that match your dinnerware or the season of the year. Knock yourself out.
- Before anything else, be sure to PREWASH YOUR FABRIC. I know, you want to get on your project right away but remember that patience is a virtue.
- After washing and drying, I ironed my fabric and cut it into 12" squares. You can accomplish this many different ways, one of which is making and using a template. I just folded my fabric in half and ironed, and in half again and ironed, etc. until I ended up with 24 pretty equal pieces. By the way, if you have a rotary cutter and some kind of straight-edge, this makes the job super easy.
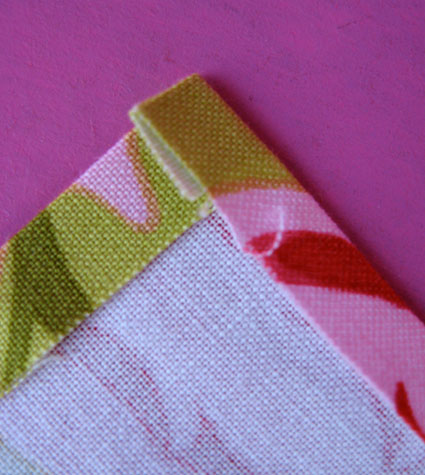
- To make a napkin with square corners, iron edge over 1/4 inch. Moving in clockwise direction iron next side 1/4 inch until all four sides have been pressed 1/4 inch.

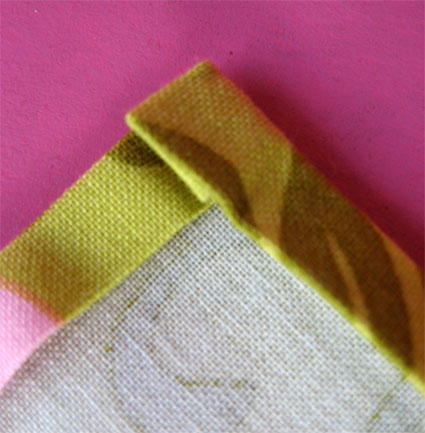
- Now fold over edges another 1/4 inch (moving in a clockwise direction).

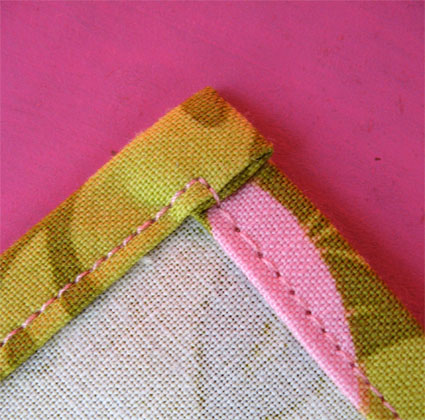
- When all four sides have been folded over twice, sew all the way around the edge of the napkin. I think most people sew straight off the edge on each side, but my sewing machine doesn't like sewing through those layers.

Now, you can make mitered corners or use seam tape to edge. If you are fortunate enough to own a serger, you could really make quick work of these, too. There are lots of different ways to create the napkins of your dreams. So get those creative juices flowing or just follow these easy steps for a simple, soft, re-usable cloth napkin that does the job.
Live in non-wasteful Victory! Lynette
Picture Source: Skip to My Lou... Thank you!
No comments:
Post a Comment